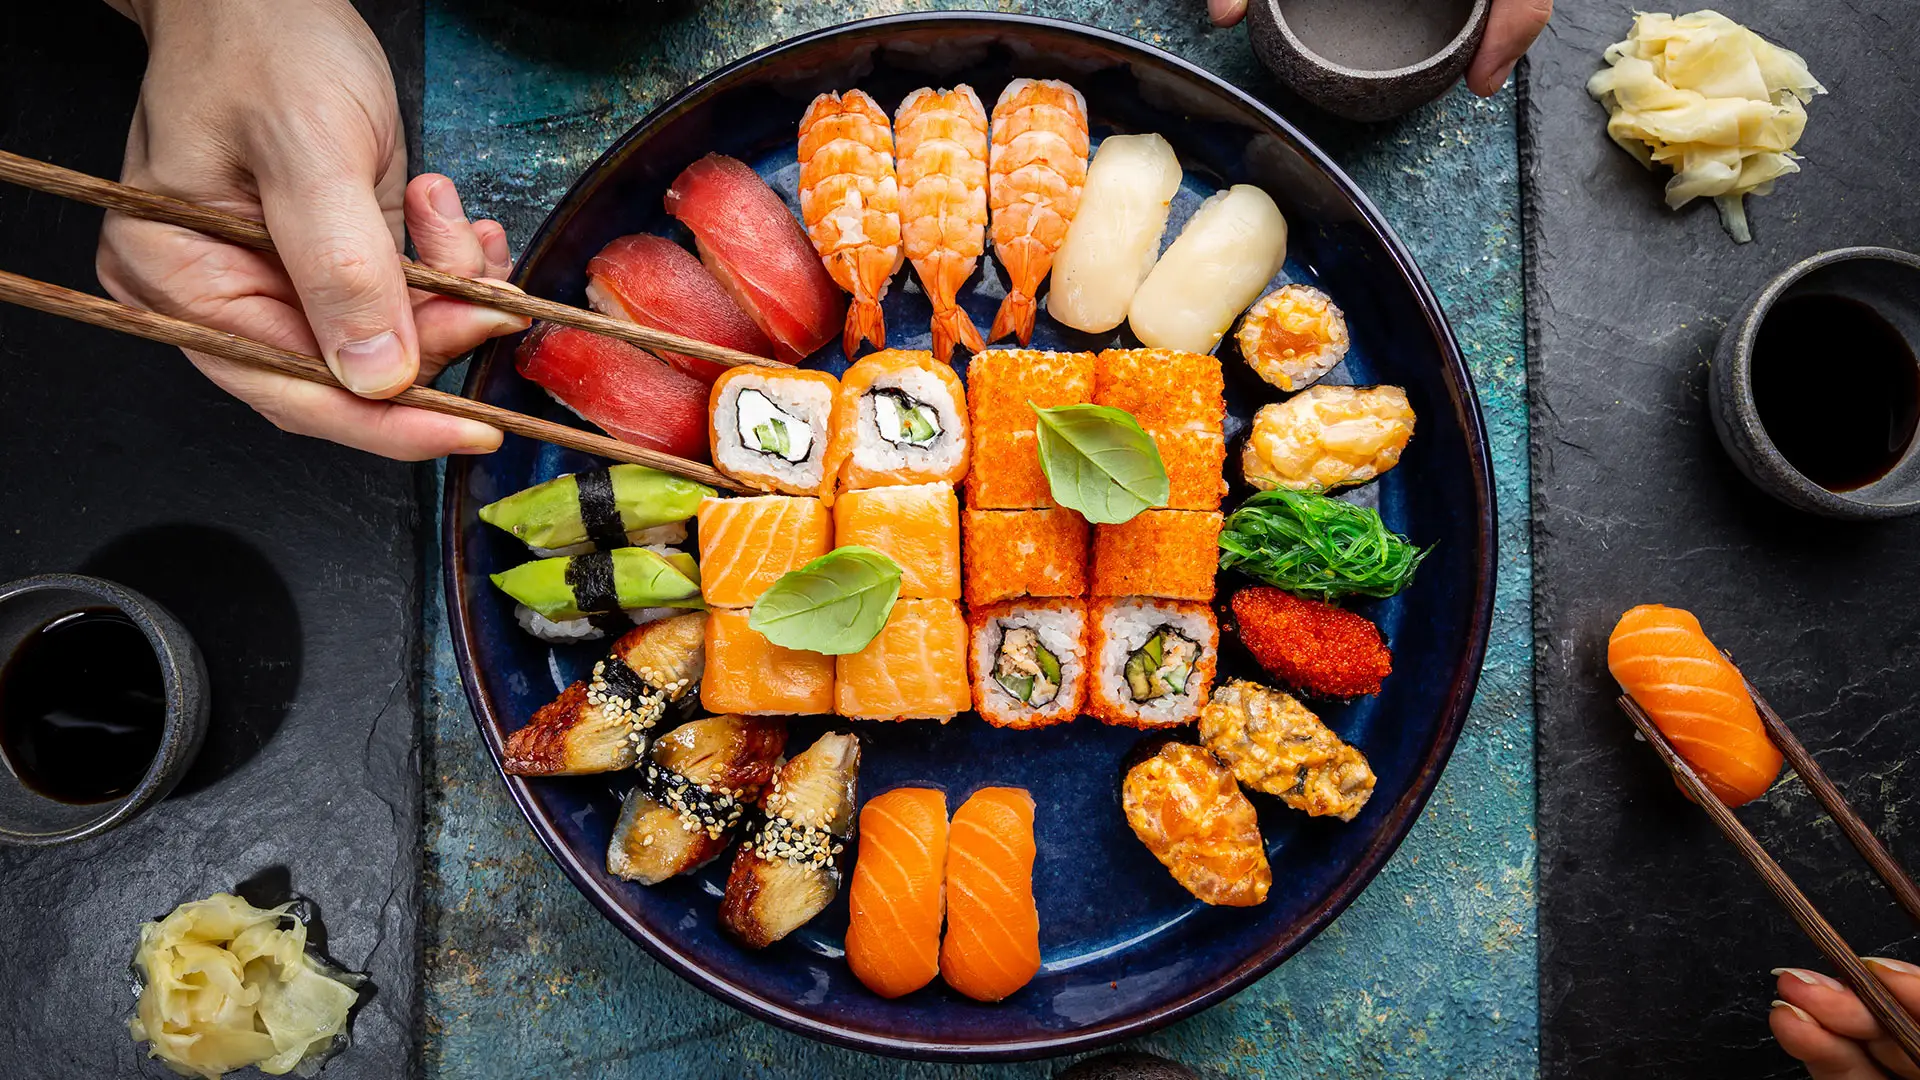
Making sushi yourself is easier than you think! That’s the first thing I say in every workshop, and I always see it: people look at me skeptically. They’ve already tried Googling it, watched a few videos, and decided it’s too complicated. An hour later, they’re rolling their own perfect sushi rolls right in front of me. The pride on their faces is always priceless.
I’m Rik, founder of School of Sushi. I taught myself how to make sushi from scratch, traveled through Japan for eight weeks to learn from the masters, and have already led hundreds of workshops for thousands of people in the Netherlands. In this article, I’ll share everything I teach in my workshops: from the rice to the finishing touches, from your first lopsided roll to the perfect technique.
Ready? Let’s get started!
What You Need to Make Sushi
Let’s start with what you really need to make delicious sushi. Without the right equipment, it’ll be tough.
Stuff
- Bamboo mat (makisu): the essential tool for rolling. It costs a few euros at an Asian supermarket or online. Wrap it in plastic wrap so the rice doesn’t stick to it.
- A good, sharp knife: this is perhaps the most important thing. A dull knife will ruin every roll you try to cut. You don’t need an expensive Japanese Yanagiba, but the knife does need to be really sharp. Read more about Japanese sushi knives here.
- A wide bowl (not metal): for cooling the rice. Ideally, a real wooden hangiri, but a large plastic bowl will work as well.
- A pot with a thick bottom: for cooking rice without it burning. A rice cooker would be perfect. Check out my picks here.
- A small bowl of water: Add some rice vinegar to it. This is to keep your hands wet so the rice doesn’t stick to them. Or use those tight-fitting kitchen gloves with a little mayo on them. That works great, too!
- A teapot or saucepan: for the vinegar. I’ll explain it to you in a moment.
Ingredients (serves 3 to 4)
- Sushi rice:
500 grams of sushi rice (specifically sushi rice, not regular white rice) - 600 ml cold water
- 6 tablespoons of rice vinegar
- 2 tablespoons of sugar
- 1.5 teaspoons of salt
Nori:
6 to 8 sheets of nori (dried seaweed, available at Asian grocery stores or online)
- Fillings of your choice (see below for combinations):
Fresh salmon or tuna (sushi-grade) - Avocado
- Cucumber
- Smoked salmon
- Shrimp (cooked)
- Sesame seeds
Sides:
- Sojasaus
- Wasabi (be careful, it’s spicy)
- Pickled ginger (gari)
Step 1: Sushi Rice
This is where it all starts. And it’s also where most beginners go wrong. Good sushi rice is sticky, fluffy, slightly sour, and perfectly seasoned. Bad sushi rice makes the rest of your sushi inedible. Seriously! Without good sushi rice, you won’t have tasty sushi.
And honestly… In my first year of making sushi, I messed up the rice dozens of times. Too wet, too dry, too sticky, not enough vinegar. Now I know exactly what can go wrong, and I’m just giving you that knowledge as a gift.
How to Cook Perfect Sushi Rice
1. Rinse the rice thoroughly.
Place the rice in a bowl of cold water, stir it, then drain the water. Repeat this until the water is almost clear. This takes four to five times. You’re rinsing off the excess starch so the rice doesn’t turn mushy.
2. Let the rice rest.
Let the rinsed rice soak in a little water for 30 minutes. This will make the grains even tastier later on.
3. Cook the rice.
Put the rice and cold water in the pot, and bring to a boil without a lid. As soon as it comes to a boil, cover it and reduce the heat to low. Cook for 12 minutes over low heat. Turn off the heat and let it steam for another 10 minutes with the lid on. Important: Never stir, and do not remove the lid during cooking.
4. Make the vinegar dressing.
Gently heat the rice vinegar, sugar, and salt in a small saucepan and stir until everything has dissolved. Do not let it boil. Let it cool slightly.
5. Mix the rice.
Spoon the rice into a wide bowl (not a metal one, as it reacts with the vinegar). Pour the dressing over the rice and mix it in with cutting motions. Don’t stir it as if it were mashed potatoes—the grains should remain whole. At the same time, fan the rice with a newspaper or magazine to help it cool faster.
6. Let it cool completely.
The rice must be at room temperature before you start rolling. Warm rice makes the nori limp and sticky, and you really don’t want that.
Not sure how much rice you’ll need for your group? Use our free sushi rice calculator. Enter the number of people, and you’ll immediately see how much rice, water, and rice vinegar you’ll need. No hassle, no waste.
Want to know all the common mistakes? Read our article on the 10 most common mistakes with sushi rice. A must-read for every beginner (even if we do say so ourselves).
Step 2: Prepare the fillings
While the rice is cooling, slice the fillings. And I’ve noticed that this is a step people often underestimate. Thin, even strips are half the battle.
Fish: Cut fresh salmon or tuna into strips about 1 cm wide and as long as you like. Always cut across the grain of the fish. This will give you the best texture and flavor.
Avocado: Cut it in half, remove the pit, and slice it into thin slices or strips. Drizzle a little lemon juice over it to prevent it from turning brown.
Cucumber: Peel, cut lengthwise, and remove the seeds. Cut into thin strips.
Tip from the workshop: Get everything ready before you start rolling. Sushi rolling goes fastest when you don’t have to stop to cut things in the middle. Arrange everything neatly next to you, just like a mise-en-place. That’s what professional chefs do. And so will you from now on 😉
Step 3: Let's roll!
Now comes the real work. And also the most fun part.
How do you make a maki roll?
The maki is the most classic type of sushi roll: rice and filling wrapped in a nori sheet, tightly rolled, and cut into pieces.
- Lay the bamboo mat flat in front of you, with the sushi mat positioned horizontally.
- Place a whole sheet of nori, shiny side down, on the mat.
- Take a handful of rice (about 150 grams) with damp hands and spread it over the bottom two-thirds of the nori sheet. Mnemonic: Put the rice on the rough side of the nori!
Leave the top third free. Press the rice down lightly, but don’t flatten it. - Spread the filling in a horizontal strip across the bottom portion of the rice.
- Grab the bottom of the mat and roll it over the filling, pressing lightly. Continue rolling until you reach the end of the nori sheet. Press the mat firmly around the roll to shape it.
- Coat the piece of nori with a very thin layer of water (a damp finger is enough) so that it sticks.
- Cut the roll with a wet, sharp knife. Cut each piece in one smooth motion: never saw back and forth. Wipe the knife clean with a damp cloth after each cut.
The first roll is always a little wonky. That’s normal. In my workshops, almost everyone’s first roll isn’t perfect. But the second one? That one’s already a lot better.
Learn more about maki sushi and all its variations.
How do you make an uramaki (inside-out roll)?
The uramaki is a roll with rice on the outside and nori on the inside. The California Roll is the most famous example of this. It looks more complicated than it is.
- Take the bamboo mat and wrap it in plastic wrap. This is especially important for uramaki because the rice is on the outside.
- Place half a nori sheet on the mat.
- Cover the entire sheet of nori with an even layer of rice. Press down firmly.
- If desired, sprinkle with sesame seeds and gently press them into the rice.
- Now place the nori sheet upside down on the mat: rice side down, nori side up.
- Place the filling on the nori.
- Roll it up like a maki, but this time the rice is on the outside.
Want to try the famous California Roll right away? We have a complete recipe with step-by-step instructions ready for you.
How do you make nigiri?
Nigiri is the purest form of sushi: an oval rice ball topped with a slice of fish. It looks simple, but there’s real skill involved.
- Take a tablespoon of rice (about 20 grams) and, with wet hands, shape it into an oval ball. Press it lightly, but not too hard. The rice should hold together but remain light and fluffy.
- Cut a slice of fish about 3 mm thick, cutting at an angle (diagonally) for the best presentation.
Hold the ball in the palm of your hand, place the fish fillet on top of it, and press down gently with two fingers.
Want a great recipe? Try our 4-minute salmon nigiri recipe.
How do you make temaki (hand rolls)?
The easiest sushi of all. No mat needed, no perfect technique required. And it’s a lot of fun for a sushi night at home.
- Tear or cut a sheet of nori in half.
- Hold the nori in your hand and place some rice on the lower left quarter.
- Add the filling.
- Roll the nori into a cone from left to right, from bottom to top.
- Press down on the tip briefly so it stays in place.
Read all about the temaki hand roll and why it’s perfect for a sushi night at home.
The Tastiest Filling Combinations
After leading hundreds of workshops, I know which combinations are always a hit. These are my participants’ favorites:
A classic that never fails:
- Salmon + Avocado
- Tuna + cucumber
- Smoked salmon + cream cheese + cucumber (Philadelphia Roll)
- Salmon + avocado + sesame seeds (uramaki)
For those who don’t want raw fish:
- Pan-fried or deep-fried shrimp + avocado + mayo
- Omelet (tamago) + cucumber
- Avocado + cucumber + sesame seeds (strictly vegetarian)
- Sweet potato (roasted) + avocado
For the adventurers:
- Tuna + spicy mayo + sesame seeds
- Salmon + mango + avocado
- Crab meat + avocado + cucumber (California Roll)
My 10 Best Tips for First-Timers
After all those workshops, I’ve seen where things always go wrong. These are the tips I give everyone before we get started.
- Be sure to use real sushi rice. No white rice, no brown rice. Sushi rice has just the right amount of starch for the perfect stickiness.
- Rinse the rice. Always. Never skip it. This is the most common beginner’s mistake.
- Let the rice cool completely. I know you’re impatient, but do it anyway. Warm rice makes soggy sushi.
- Damp hands. Keep a small bowl of water next to you. Dip your hands in it before each step when working with the rice. Otherwise, everything will stick to your hands and nothing else.
- Less rice than you think. The first instinct is always to put too much rice on the nori. Then you won’t be able to roll it up. A thin layer, no more than 1 cm thick, is enough.
- Roll it tightly, but not too hard. The trick is to press down while rolling without squeezing the filling out.
- A wet blade, every time. Wipe the knife with a damp cloth after each cut. A dry knife will pull the rice along and make your pieces look messy.
- Cut in one smooth motion. Don’t saw. . One smooth cutting motion from front to back.
- The first roll is ugly. That’s okay. I’ve seen this a thousand times. Your first roll is too thick, or lopsided, or the filling is falling out. Just eat it and start over. The second one will turn out better.
- Enjoy the process. Making sushi is a bit like meditation once you get into it. Put on some good music, crack open a beer, and enjoy the evening. It’s not just the end result that counts.
What kinds of sushi can you make yourself?
If you want to know what kinds of sushi there are and which ones are easiest to make yourself, read our in-depth article on all types of sushi explained. From nigiri to gunkan, from temari to chirashi.
Frequently Asked Questions About Making Sushi at Home
Is it hard to make sushi yourself?
No. Especially not after reading this article. The first time takes a little patience, mainly because of the rice. But you can learn the technique itself in less than an hour. Be sure to read our honest article: Is it hard to make sushi yourself? The answer will surprise you.
What do I really need to make sushi?
Sushi rice, rice vinegar, nori sheets, a bamboo mat, and a sharp knife. Plus your choice of fillings. That’s all you need.
Can I cook the rice ahead of time?
Yes, but make sure to cover it and store it at room temperature, and use it the same day. Sushi rice stored in the refrigerator becomes hard and loses its texture.
What kind of fish can I use for raw sushi?
Always use fish that is sold as “sushi-grade” or “sashimi-grade.” Ask for this at a good fishmonger or Asian supermarket. These are fish that have been frozen (to kill parasites) or have undergone additional inspections. Never just buy any fish from the supermarket for raw sushi.
How much sushi should I make per person?
For a main course, allow 10 to 15 pieces per person. For lunch or an appetizer, allow 6 to 8 pieces. Read more in our article, “How Much Sushi Per Person?”
Can I make vegetarian sushi?
Absolutely. Avocado, cucumber, sweet potato, shiitake mushrooms, omelet, edamame, mango. Some of the tastiest sushi I know of is entirely plant-based.
How do I store leftover sushi?
Sushi is best eaten right away. If you do want to save some, wrap the rolls in plastic wrap and put them in the refrigerator. Eat them within 12 hours—never later. And let them come to room temperature before eating.
Do you really want to learn it? Then you have two options.
If, after reading this article, you want to try your hand at making sushi but would rather not be fiddling around in the kitchen all by yourself, I have two great options for you.
Option 1: Come to a live workshop.
At one of my fun sushi workshops in the Netherlands , you’ll learn directly from me. Small groups, hands-on, with all ingredients and materials included. You’ll leave the workshop with a full stomach and the know-how to recreate it at home right away. I’m not just saying this: after two hours, most participants already look like they’ve been doing this their whole lives.
Option 2: Take the online course.
Can’t attend a workshop or would you rather learn at your own pace? Then our online sushi course is exactly what you’re looking for. More than 50 videos, clearly explained, from the rice to the most spectacular rolls. Whenever you want, as often as you like.
Ready to make your own sushi? I sure am!
Rik Keijzer is the founder of School of Sushi and taught himself the art of making sushi from scratch. He traveled through Japan for eight weeks to learn about authentic Japanese sushi culture and now offers workshops and online courses to people all over the world.